27-Jun-2013
8201840300
 images with the camera and save them as JPEG images. While the RAW image itself does not change, you can process the RAW image according to different conditions to create any number of JPEG images from it.
 and
and  images cannot be processed with the camera. Use Digital Photo Professional (provided software) to process those images.
 >: Main Dial / <
 >: Quick Control Dial / <
 ><
>< ><
>< >: Multi-controller / <
 >: Index/Reduce button / <
 >: Magnify button / [
  ]: Playback tab 1
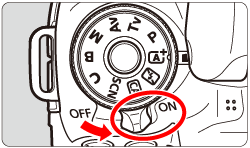
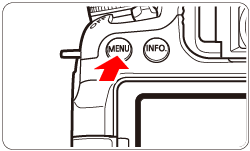
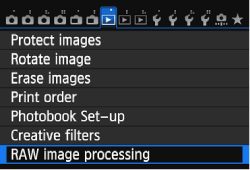
 ] tab, select the [RAW image processing] menu option, then press the < [|G0156018||3]]> button. RAW images will be displayed.
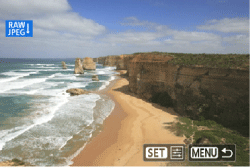
 > dial to select the image you want to process.
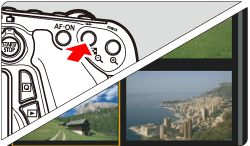
 > button, you can switch to the index display and select an image.
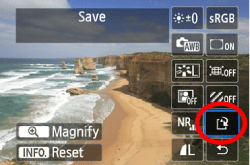
 > and then the RAW processing options will appear.
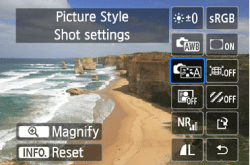
 ><
><  > keys to select an option, and turn the <
  > dial to change the setting.
 > button.
 > button. The magnification will differ depending on the pixel count of [Image quality] set in [RAW image processing]. With <
 >, you can scroll around the magnified image. To cancel magnified view, press the <
 > button.
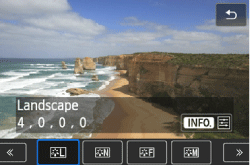
 > to display the setting screen.
 > or <
  > dial to change the setting.
 >.
>.
 ](Save), then press <
  >.
>.