04-มี.ค.-2014
8201916800
 > button to enter Playback mode.
 ] tab.
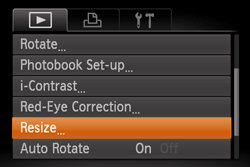
 ><
>< > buttons or turn the <
 > dial to choose an image, and then press the <FUNC./SET> (
 ) button.
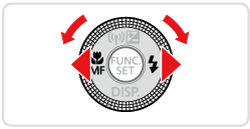
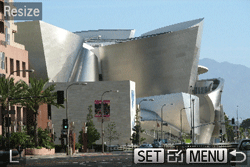 ><> buttons or turn the <> dial to choose the size, and then press the <FUNC./SET> () button.
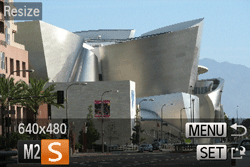 ><> buttons or turn the <> dial to choose [OK], and then press the <FUNC./SET> () button.
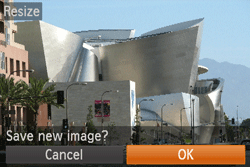 ><> buttons or turn the <> dial to choose [Yes], and then press the <FUNC./SET> () button.
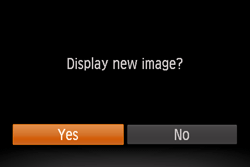
 ] or saved as [ ] in step 4.